
One of the excellent features of the new MOVEit Transfer 2018 product is the introduction of RESTful (REST) APIs. If you're not familiar with REST APIs, it boils down to an industry-standard way of accessing applications or services over HTTP/S.
The REST API allows you to access MOVEit Transfer functionality directly from the command line, scripts, or in custom applications without having to install any MOVEit libraries. It is open and cross-platform as long as you can make an HTTP/S request from your machine to the server.
To demonstrate how MOVEit Transfer's REST APIs work, we're going to choose PowerShell because it's the language I'm most familiar with.
Before we can do anything, we first have to authenticate to MOVEit Transfer just like we would if using the GUI. Once we pass our username and password to MOVEit Transfer, we will get back an access token. We'll then use this token for subsequent calls to MOVEit Transfer. MOVEit Transfer will use the token to verify whether or not we are authorized to access a given resource.
In PowerShell, you can use the code below to authenticate and read the token from the response. This code crafts the appropriate authorization endpoint URL and builds the HTTP query string needed to pass the username and password to the endpoint. When run, this will have your token inside of the $token variable.
$serverName = '<YourMoveITAutomationServerNameHere>'
 $cred = Get-Credential
 $apiConfig = @{
     UserName = $cred.UserName
     Password = $cred.GetNetworkCredential().Password
     GrantType = 'password'
     MoveItHost = $serverName
 }
 $authEndpointUrl = "https://$($apiConfig.MoveItHost)/api/v1/token"
 $authHttpBody = "grant_type=$($apiConfig.GrantType)&username=$($apiConfig.UserName)&password=$($apiConfig.Password)"
 [System.Net.ServicePointManager]::ServerCertificateValidationCallback = { $true }
 $token = Invoke-RestMethod  -Uri $authEndpointUrl -Method 'POST' -Body $authHttpBody
 $token = $token.access_token
Notice the System.Net.ServicePointManager line above. We only need this line for MOVEit Transfer systems that use a self-signed or expired SSL certificate. If I were using a valid, public SSL certificate, this line would not be needed.
Now that we've got a token to perform API calls against the various MOVEit Transfer APIs, let's see what we can do. Since we don't know offhand how the APIs are structured, we'll head over to the Swagger page that provides live documentation of all the REST APIs and the ability to play around with them. This URL is http://MOVEITHOST/swagger.
Although the Swagger page does have the ability to request a token and to send real, interactive requests to MOVEit Transfer, it's important you understand how to make that happen in PowerShell as covered above.
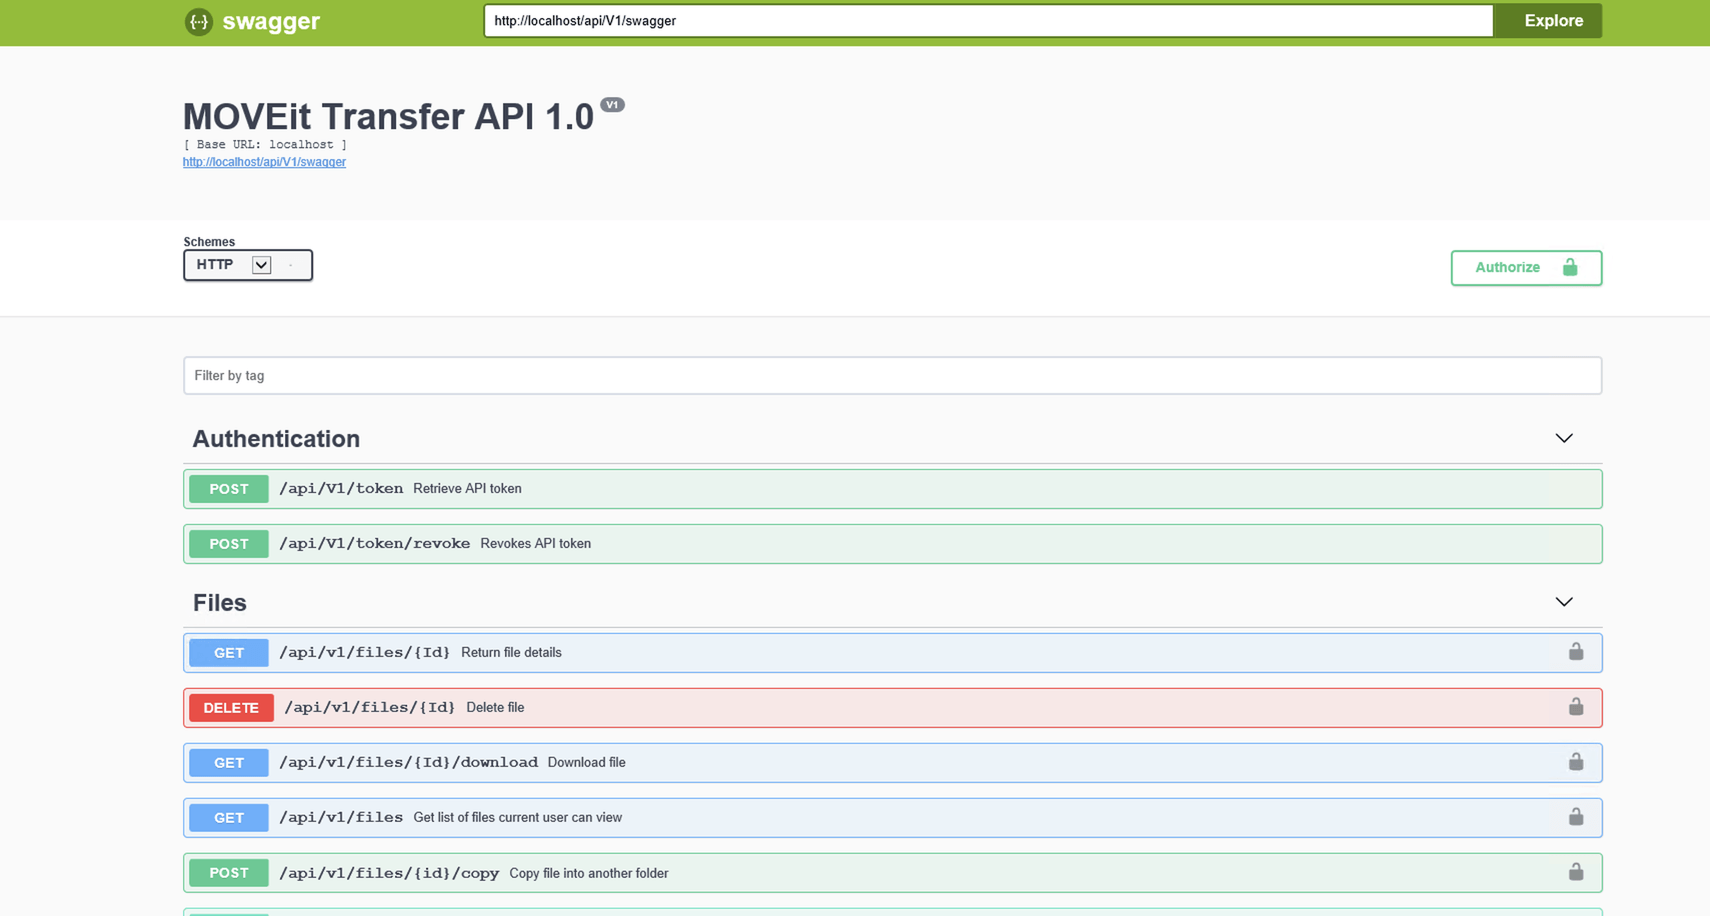
Looking through the Swagger page, I perhaps notice Users API. Clicking in there we see that we have a method we can call called users that allows me to enumerate all users in MOVEit Transfer. According to Swagger, the path is /api/v1/users and the HTTP verb is GET. Let's give it a go.
To call any API in MOVEit Transfer, we need to provide my authorization or token. This is done by creating an Authorization header in the form of Bearer <token>. To pass headers to REST APIs in PowerShell, we can use the Headers parameter as shown below:
$headers = @{ 'Authorization' = "Bearer $token" }
Once we have that, we then need to craft the endpoint URL using the MOVEit Transfer server name and the path we got from Swagger. We can then call the Invoke-RestMethod command to send an HTTP GET request to the endpoint URL using the token we obtained earlier.
PS> $userEndpointUrl = "https://localhost/api/v1/users"
 PS> $users = Invoke-RestMethod -Headers $headers -Uri $userEndpointUrl
 PS> $users.items


 id             : 08p8dhg1mh042w70
 orgID          : 4082
 username       : demouser
 realname       : demouser
 permission     : User
 email          :
 status         : Active
 lastLoginStamp : 0001-01-01T00:00:00

 id             : ti3a42754q34m08e
 orgID          : 0
 username       : sysadmin
 realname       : Default SysAdmin
 permission     : SysAdmin
 email          : [email protected]
 status         : Active
 lastLoginStamp : 2018-07-20T15:48:50

 id             : j8oy3ot1nd85vzvr
 orgID          : 4082
 username       : techsnips
 realname       : techsnips
 permission     : Admin
 email          :
 status         : Active
 lastLoginStamp : 2018-07-20T14:49:34
MOVEit Transfer returns JSON but one of the perks of using PowerShell's Invoke-RestMethod is that it translates that JSON into an object which allows us to reference the items property as you see above.
Summary
We just covered a single use case for using MOVEit Transfer's new REST APIs. By browsing the list of available options to you in Swagger and optionally executing API requests along with using PowerShell, you're able to get a sense of what's capable without even logging into the web console! The process is the same every time, get your token, go to Swagger, figure out the APIs that you need to perform whatever action you'd like to do, craft the request and send it.
Working with MOVEit Transfer via REST APIs allows you to integrate Transfer into more significant automation orchestration workflows or merely build yourself some excellent command-line tools to quickly check on things via PowerShell or some other command line.