If you are a Windows user, you have likely heard of Microsoft AppLocker. This whitelisting program allows Windows users to protect itself from disk based malware by way of restricting executable programs to a specific list of paths, hashes, or signed applications. However, a new player has joined the fold, AaronLocker.
What is AaronLocker?
AaronLocker, named for its namesake developer, Aaron Margosis, is a wrapper for the traditional implementation of Windows AppLocker. It is written entirely in PowerShell (5.0 and later) and includes a small number of scripts that are easily customizable for more specific requirements. The overall objective is to make Windows AppLocker implementation more robust, practical, and maintainable while still remaining free. AaronLocker even includes some additional scripts to both capture policy and event data from Microsoft AppLocker in an excel file. Nifty!
AaronLocker files can be downloaded from github at the following link: https://github.com/Microsoft/AaronLocker/
AaronLocker Strategy
AaronLocker implements Microsoft AppLocker according to a specific strategy. Programs or scripts added to the computer by a non-administrative user are not allowed to execute unless specifically allowed by an administrator. This is controlled both by user permissions and location. Programs in directories such as the program files directory which is accessible only to the administrator are considered to be valid and allowed to run. Other user maintained directories are restricted unless otherwise authorized.
Running Your First AaronLocker Script
This tutorial was conducted on a Windows 10 machine running PowerShell v5.1 with script execution enabled. We have downloaded Sysinternals AccessChk.exe from the following link: https://docs.microsoft.com/en-us/sysinternals/downloads/sysinternals-suite. AccessChk has been added to the Windows 10 machine to allow AaronLocker to determine if directories are user writeable. The AaronLocker.zip package was extracted to the C:\ directory and AccessChk.exe was placed in the same AaronLocker directory.
Initial AaronLocker Customization
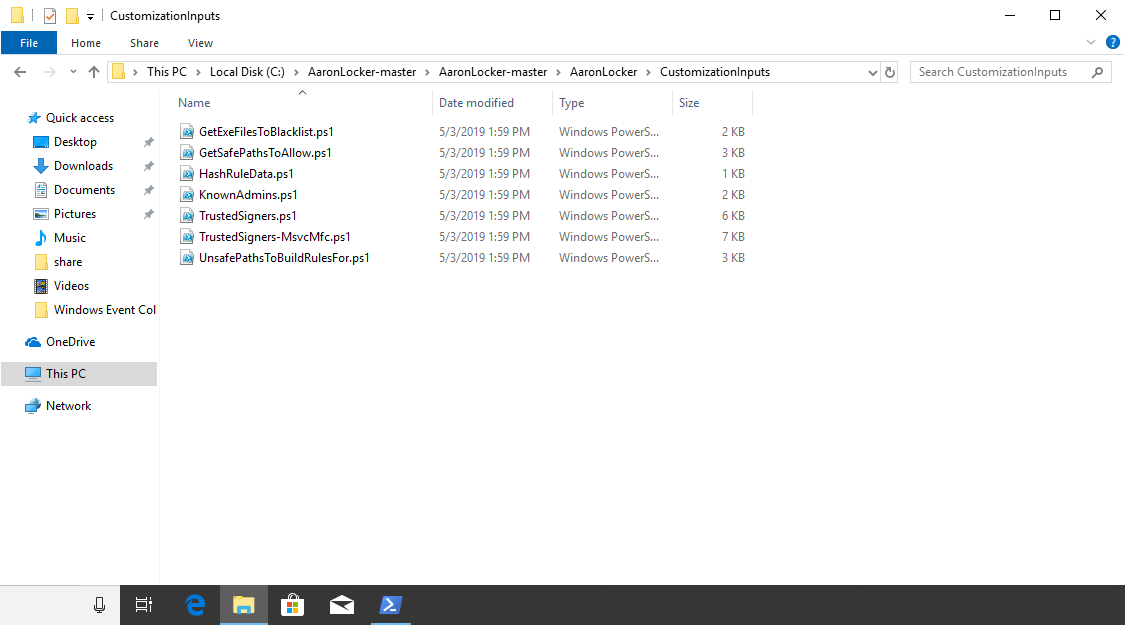
The first step in the AaronLocker rule building process is to add any applicable customizations. All customization scripts are found in the CustomizationInputs folder downloaded in the AaronLocker package from github. Simply place the appropriate exclusions in the appropriate file. For example, any known trusted signers would be added to TrustedSigners.ps1.
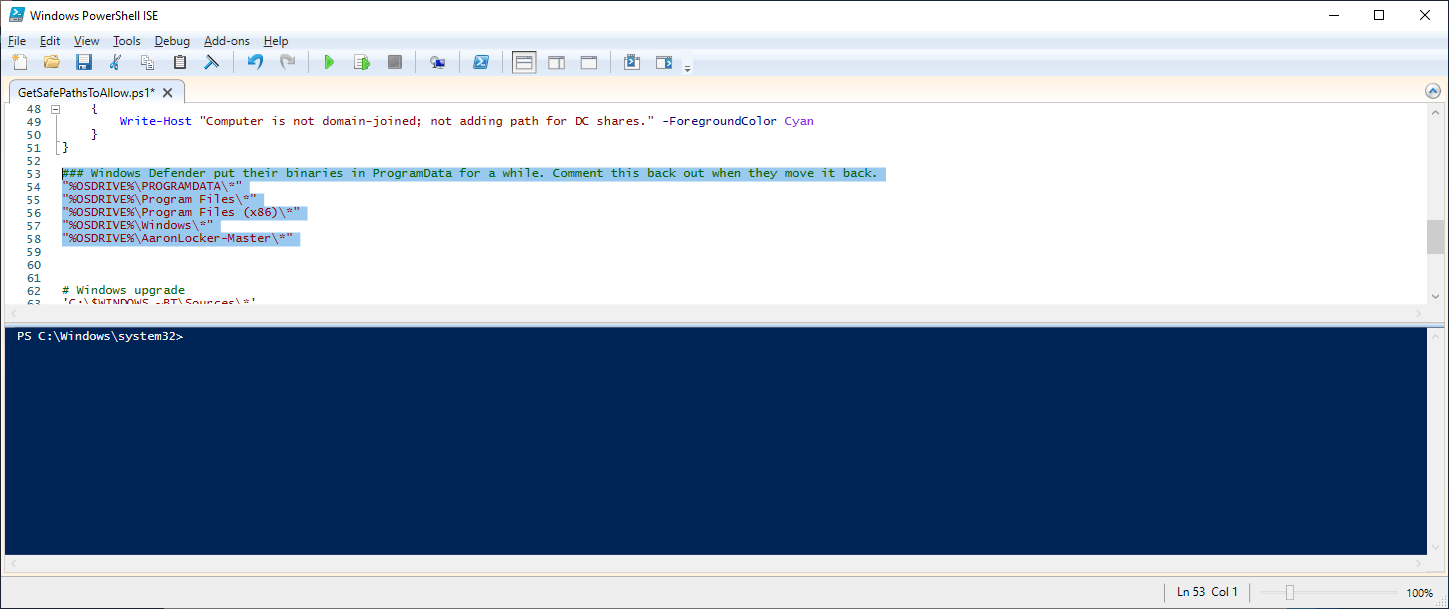
In this tutorial, we will manage the AaronLocker policy by path. Start by ensuring that any safe paths are allowed to execute by adding them to the file GetSafePathsToAllow.ps1. Be sure any paths added to this directory can only be modified by an administrator.
Next, we will add a list of any unsafe paths by modifying the file UnsafePathToBuildRulesFor.ps1. This is where our whitelisting will occur. In this case, we have chosen to whitelist the C:\Test directory.

If you are unsure which directories require whitelisting, you can utilize the ScanDirectories.ps1 script to identify safe directories. For example, the below PowerShell command created a list of safe directories under C:\Users.

Use the createpolicies.ps1 to create your AppLocker policies. Once the script has run, your new policy set can be found in the outputs directory. Both an audit and enforce policy set are included.

Enabling the Policy Locally
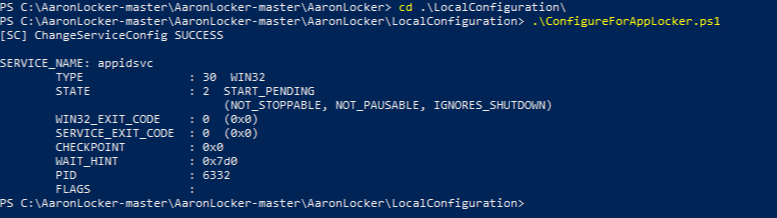
Finally, we will apply the policy locally. First, run ConfigureForAppLocker.ps1. This script configures the Application Identity (AppIdSvc) service for automatic start, starts the service, and configures the AppLocker event log sizes to 1GB each.
Next, run the script ApplyPolicyToLocalGPO.ps1. This applies the most recent AaronLocker-generated policy to local Group Policy. By default, the policy will be immediately enforced. To apply the audit-mode policy instead, add the ‑AuditOnly switch to the command line.

Testing the AaronLocker Policy
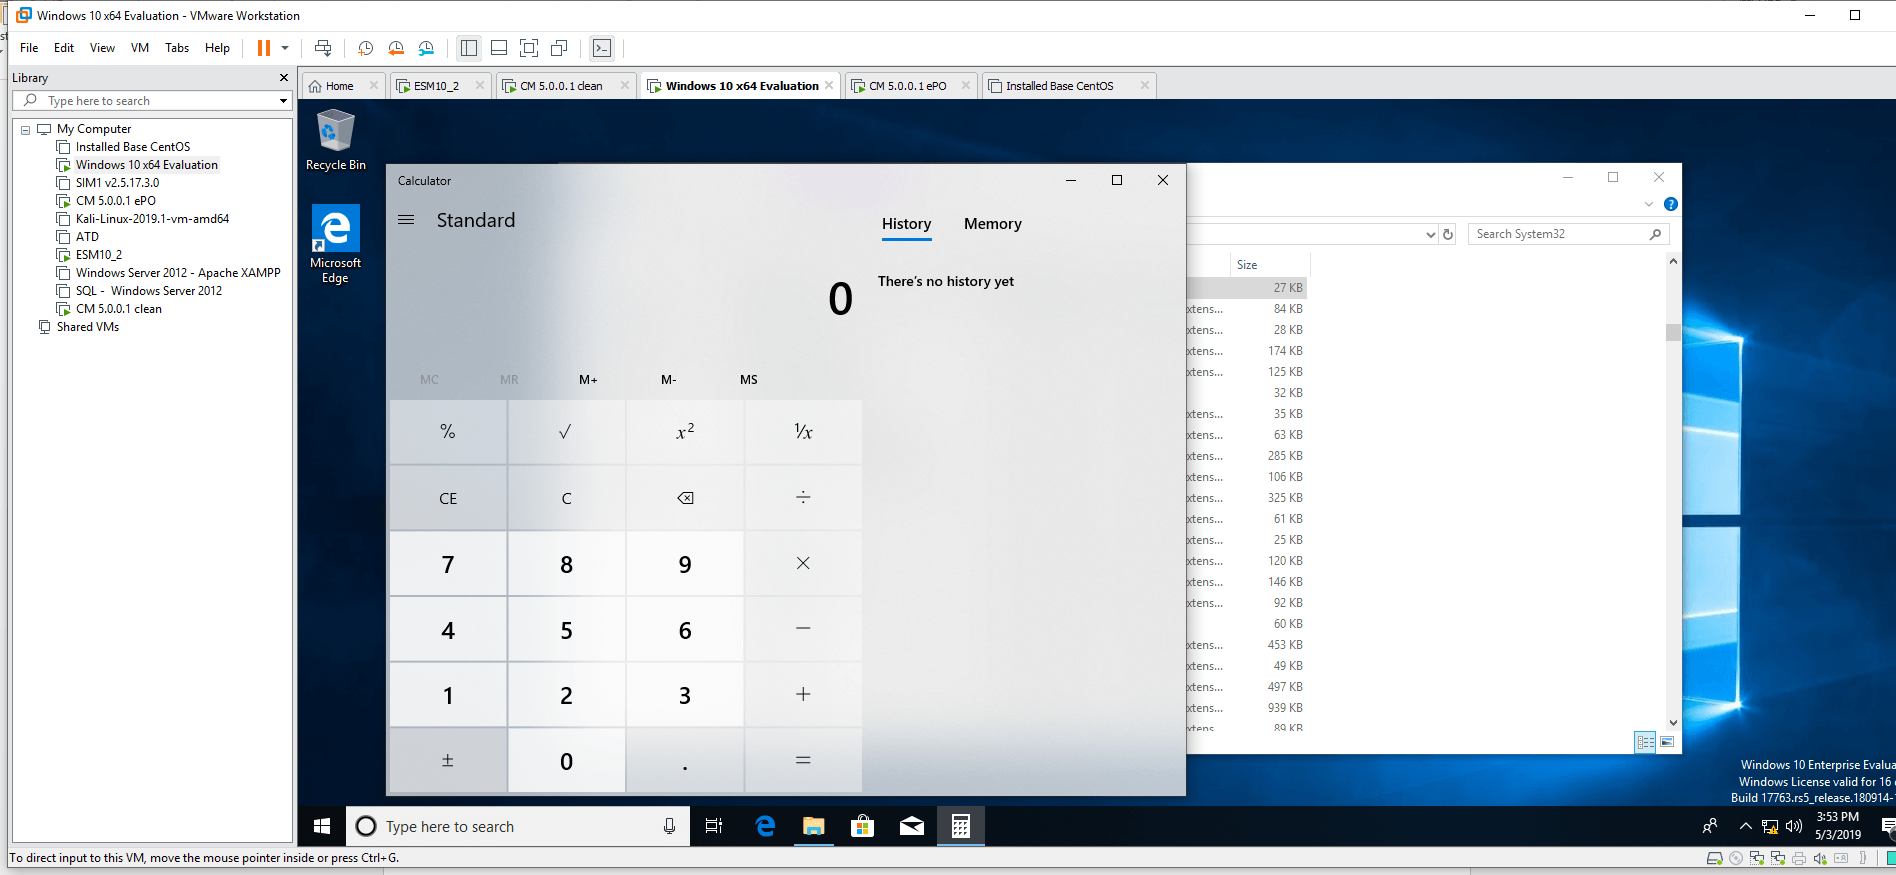
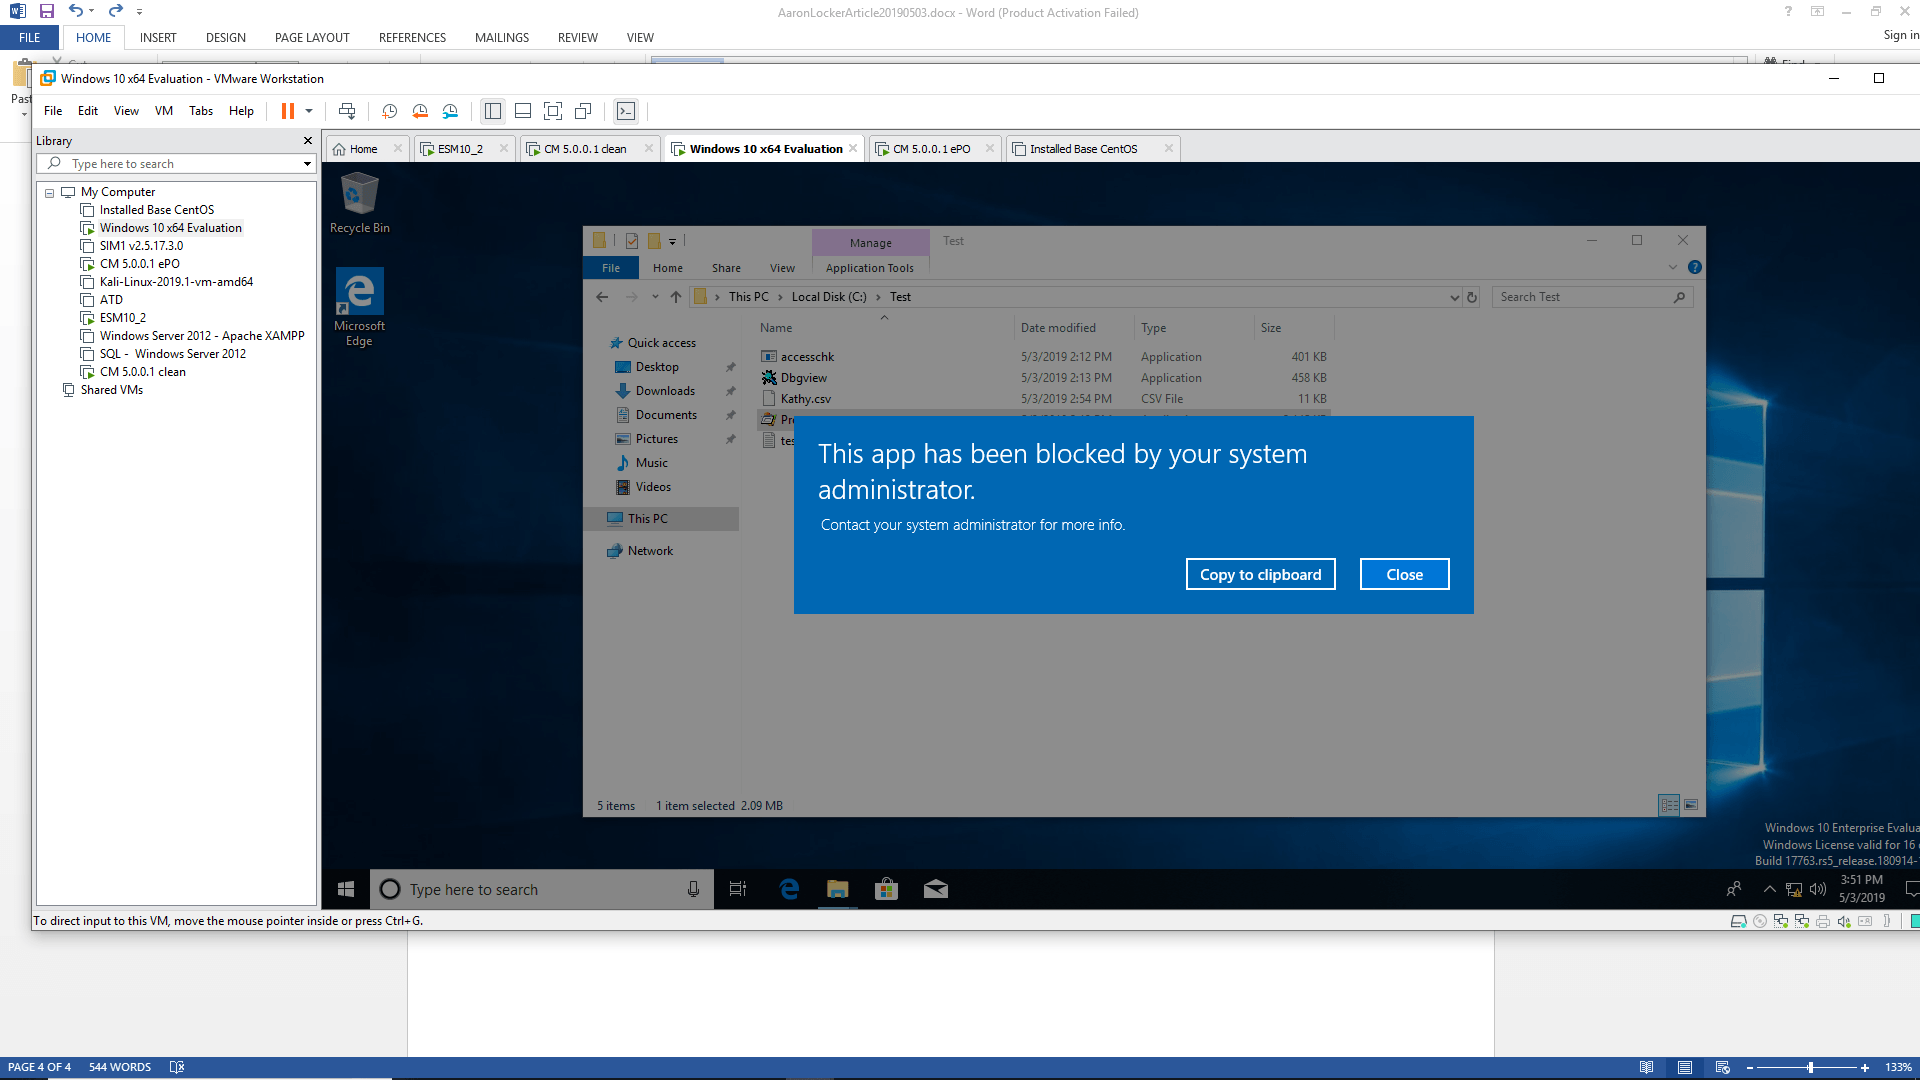
To test the new policy we must first log in with a user account. We will run an application from the C:\Test directory from which we have blocked execution. Voila! Our execution is blocked.
Now, let’s make sure that the appropriate directories are allowed. To do so, we will test an executable from the C:\Windows directory. Specifically, we will run calc.exe. It runs! We have validated our first AaronLocker policy.