
Amazon Web Services offers a very popular object storage service known as Amazon S3 (Simple Storage Service) that enables you to store data, files, images and even videos in highly available containers called ‘buckets’ which are also easy to access endpoints using any popular programming language. In combination of AWS S3 and with other AWS services developers can build scalable and durable applications and back ends.
In this article we will demonstrate how to automate the creation of an AWS S3 Bucket, which we will use to deploy a static website using the AWS SDK for Python also known as the Boto3 library. Please refer to my previous article here to grant programmatic access from AWS and setup the environment local computer with AWS credentials.
Let’s start with fetching details of existing S3 buckets from AWS Cloud…
List existing buckets
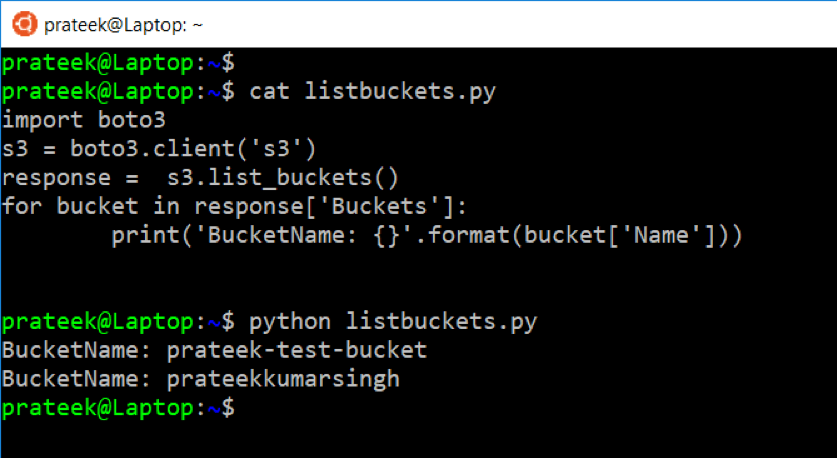
To list all Buckets users in your console using Python, simply import the boto3 library in Python and then use the ‘list_buckets()’ method of the S3 client, then iterate through all the buckets available to list the property ‘Name’ like in the following image.
import boto3
 s3 = boto3.client('s3')
 response = s3.list_buckets()
 for bucket in response['Buckets']:
         print('BucketName: {}'.format(bucket['Name']))
 But to host a static website, we need a publically available bucket that is open to everyone on the internet. So let's create a new bucket.
Creating a New AWS S3 Bucket and Assigning Bucket Policy
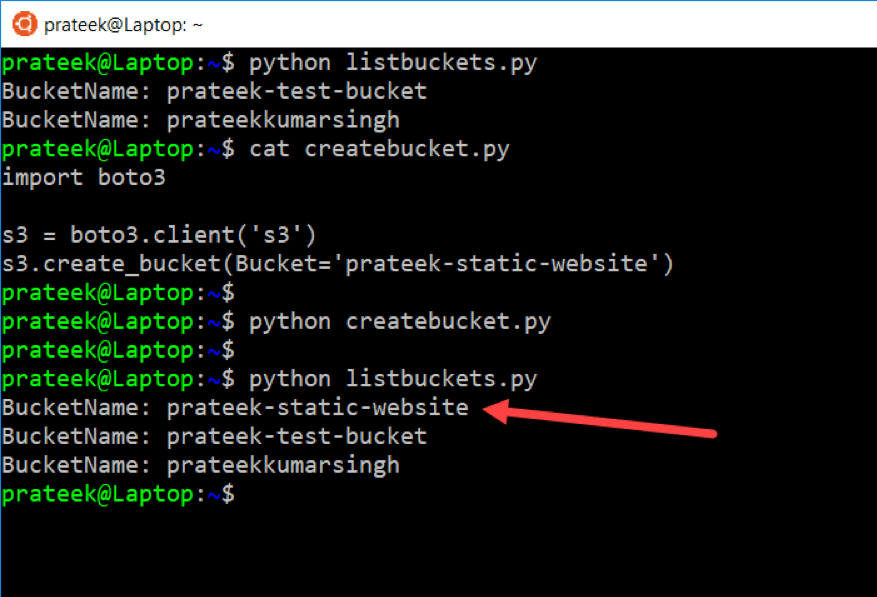
First thing's first, import the ‘boto3’ library in Python, then call the AWS S3 client. Now use the ‘create_bucket()’ method on the client and provide a ‘Bucket Name’, which is ‘prateek-static-website’ in our example. This will create a new AWS S3 bucket and you can also verify that by listing the names of existing buckets again as described in the previous example.
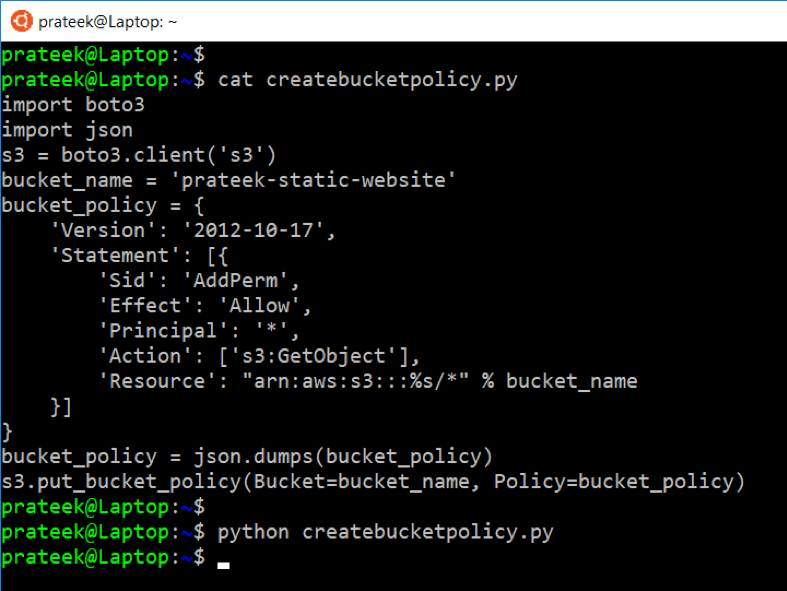
But since this website should be publically open, we need assign a ‘bucket policy’ to this ‘bucket: prateek-static-website’ with read-only permissions for any anonymous user. So now I will create the bucket policy in JSON format and assign ‘"Action":["s3:GetObject"]’ permission to only grant the ‘read-only’ rights to any users using the wildcard in ‘"Principal": "*"’. Then using the ‘put_bucket_policy()’ method of S3 client we will assign this policy to the bucket.
import boto3
 import json
 s3 = boto3.client('s3')
 bucket_name = 'prateek-static-website'
 bucket_policy = {
     'Version': '2012-10-17',
     'Statement': [{
         'Sid': 'AddPerm',
         'Effect': 'Allow',
         'Principal': '*',
         'Action': ['s3:GetObject'],
         'Resource': "arn:aws:s3:::%s/*" % bucket_name
      }]
 }
 bucket_policy = json.dumps(bucket_policy)
 s3.put_bucket_policy(Bucket=bucket_name, Policy=bucket_policy)
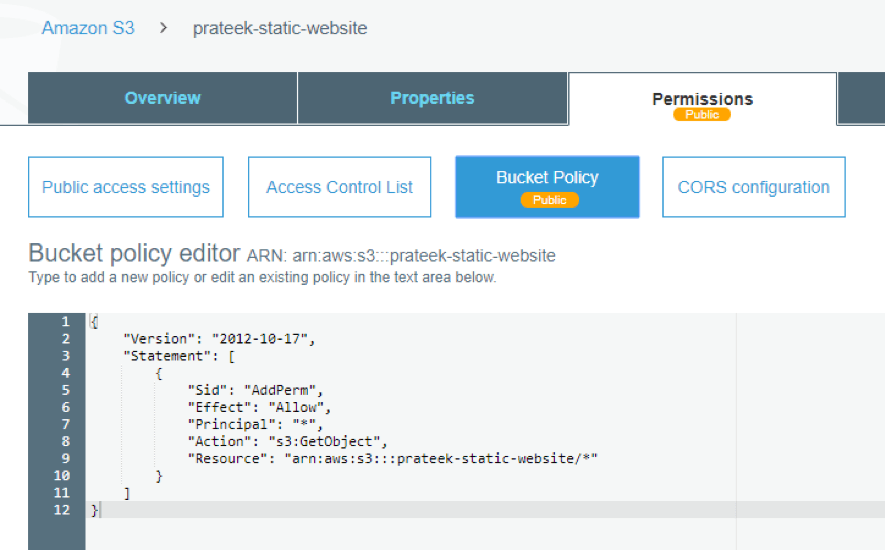
You can also verify this policy under the ‘Permissions’ tab on the target bucket in AWS Console.
Enable Static Website Hosting on AWS S3 Bucket
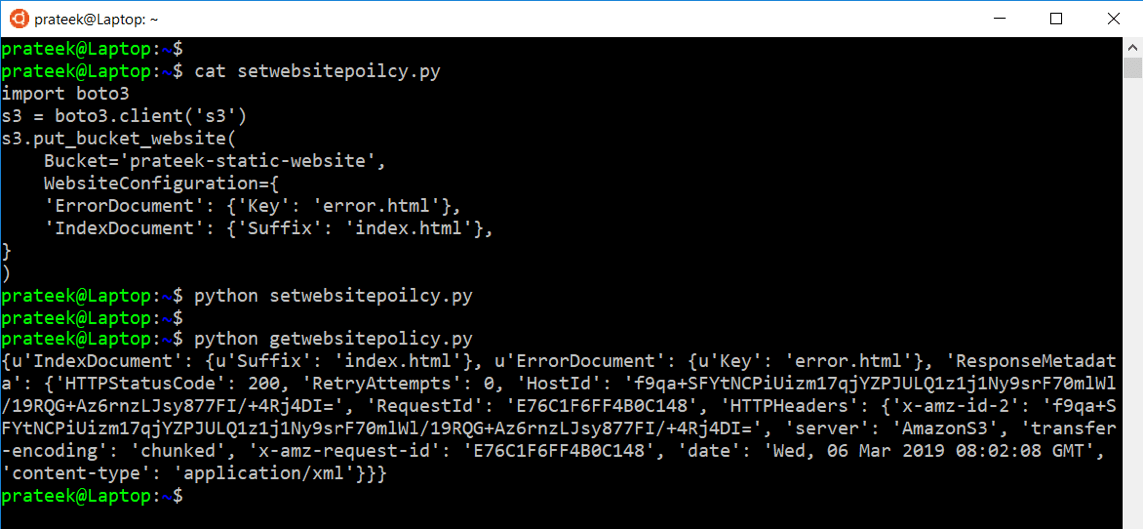
You now need to explicitly enable the AWS S3 Bucket to host static websites and provide the website configurations like the Index and Error HTML page. This can be achieved by calling the ‘put_bucket_website()’ method of S3 client and passing the ‘bucket name’ and Website configuration in a hash table that stores the name of the files Index and Error files, like ‘index.html’ and ‘error.html’ respectively.
import boto3
 s3 = boto3.client('s3')
 s3.put_bucket_website(
     Bucket='prateek-static-website',
     WebsiteConfiguration={
     'ErrorDocument': {'Key': 'error.html'},
     'IndexDocument': {'Suffix': 'index.html'},
    }
 )
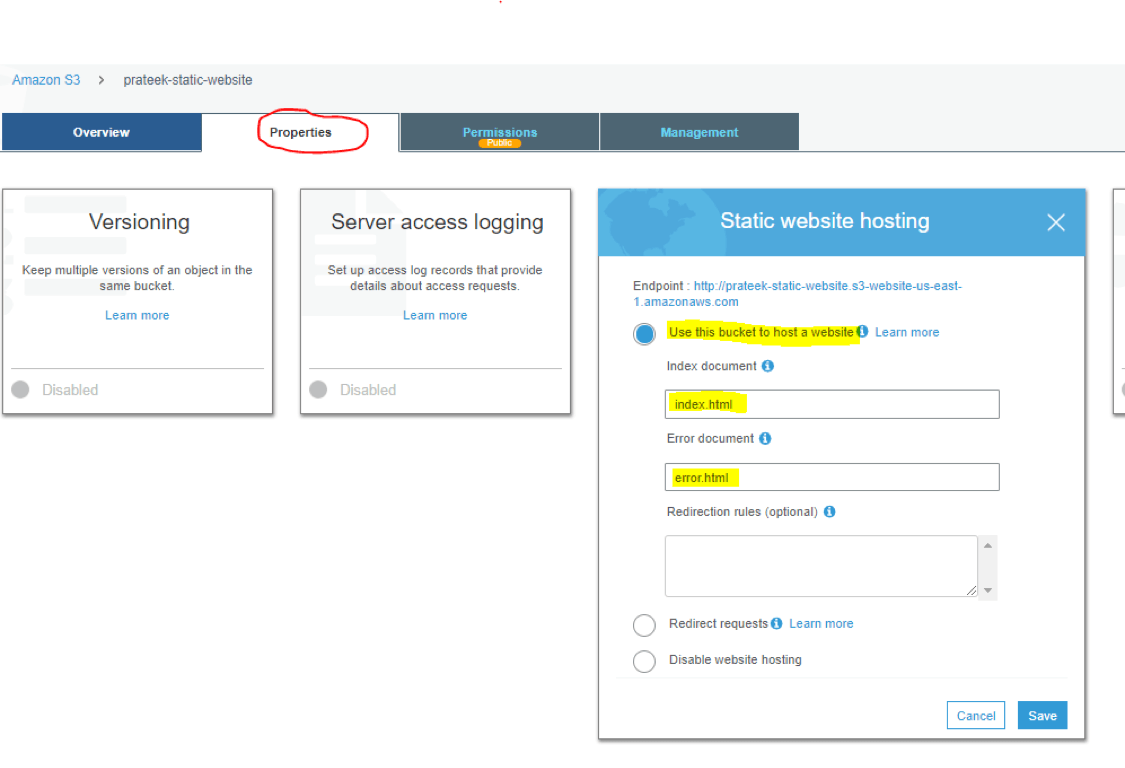
 This can be also verified from the AWS console under the Bucket > Properties, like in the following image:
Uploading HTML Documents for the Static Website
Now I will simply create two HTML files one for the main Static website page also known as the ‘index.html’
<html>
 <body>
 <h1>Hello World!</h1>
 </body>
 </html>
And an error page that will appear when something goes wrong on our static website, which is referred as ‘error.html’.
<html>
 <body>
 <h1>Oh. Something bad happened!</h1>
 </body>
 </html>

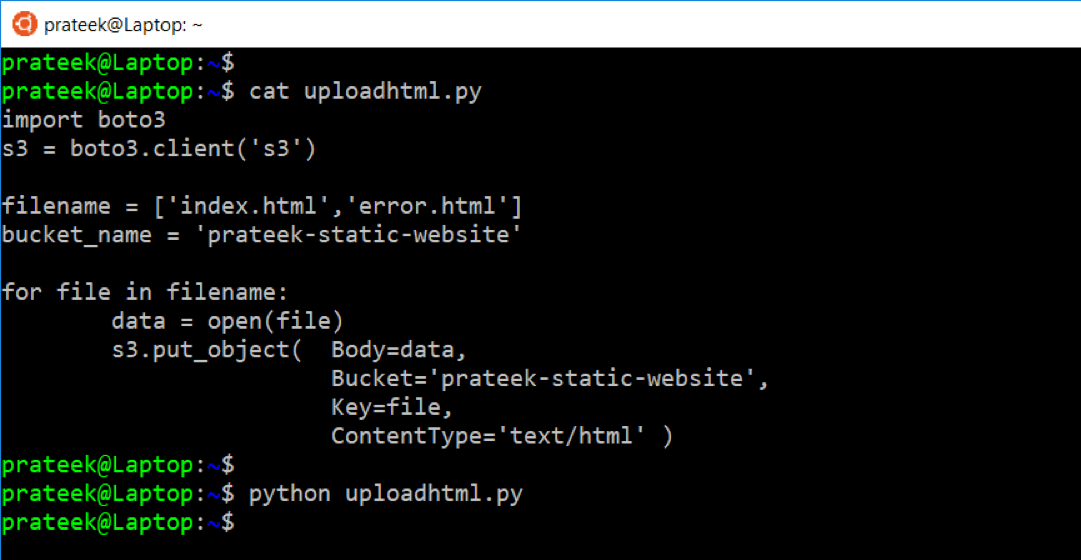
Once we have these two HTML files prepared locally, we can utilize the ‘put_object()’ method of S3 client and upload these to our target AWS S3 bucket.
import boto3
 s3 = boto3.client('s3')

 filename = ['index.html','error.html']
 bucket_name = 'prateek-static-website'

 for file in filename:
         data = open(file)
         s3.put_object(  Body=data,
                         Bucket='prateek-static-website',
                         Key=file,
                         ContentType='text/html' )
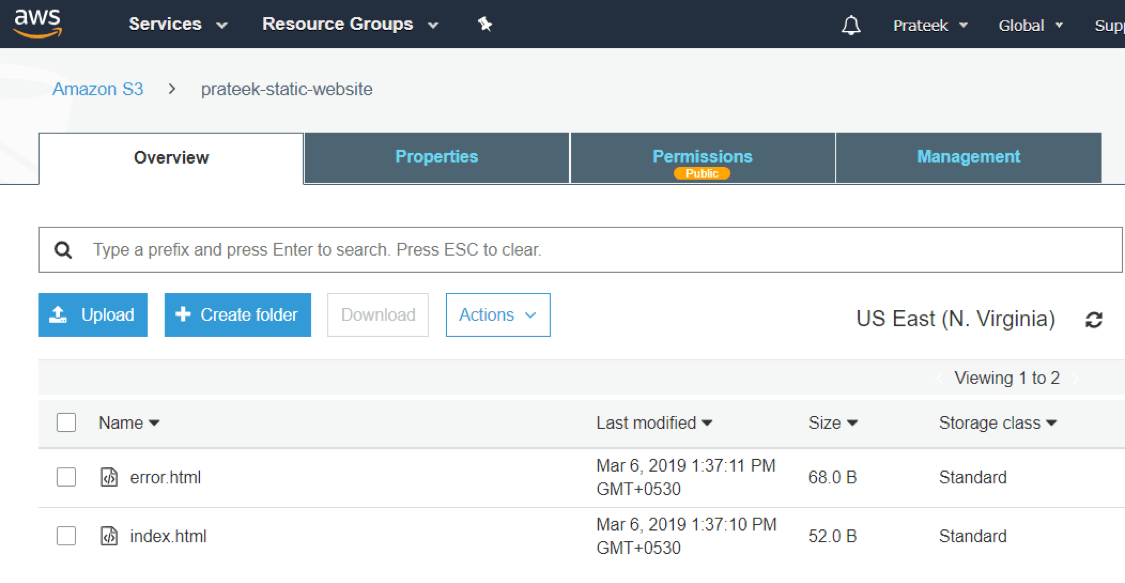
Once the files are uploaded it can be verified from the AWS Console under the target bucket.
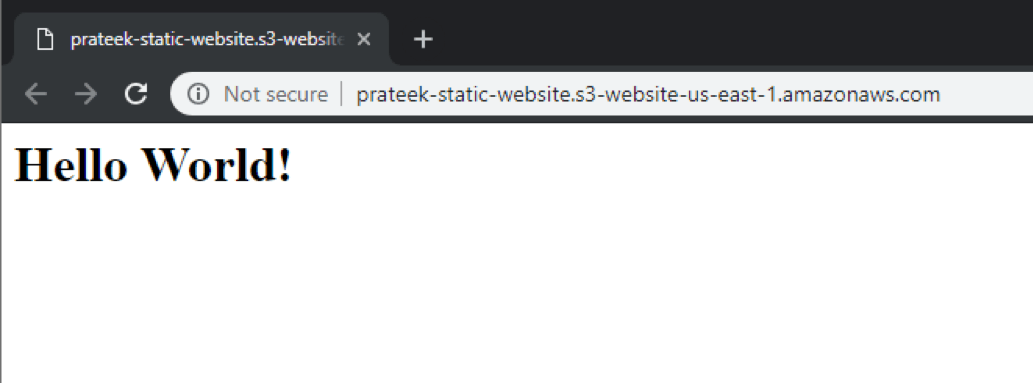
 Now, if we browse the URL of our static website in the following syntax through a web browser, where in you have to provide the ‘name of bucket’ and ‘region’ of our bucket ‘prateek-static-website’.
https://{Name-Of-Bucket}.s3-website-{Region}.amazonaws.com
It will then load our static website’s ‘index.html’ page hosted on AWS S3 in the web browser.
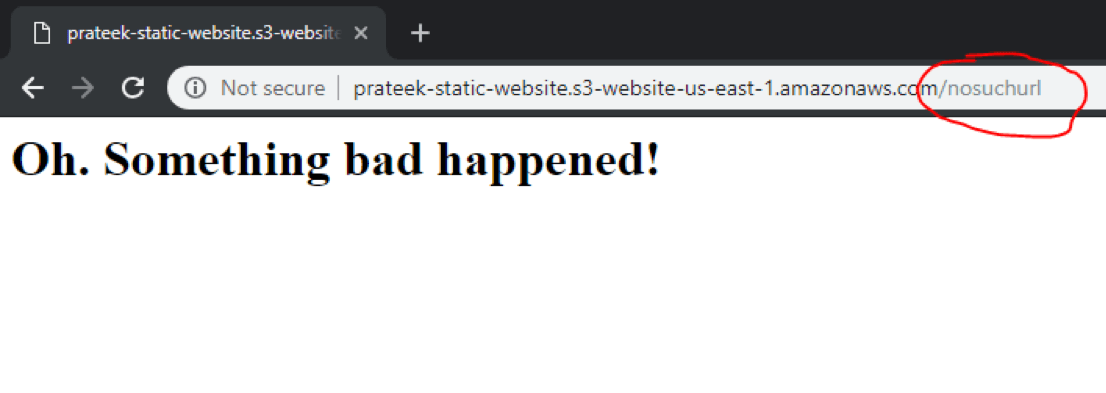
 If you mistakenly mentioned a bad a URL, then fault tolerance mechanism will redirect the browser to load the ‘error.html’ page hosted on AWS S3 to handle such situations.
Concluding everything we've learned so far: In this article we covered how to use Python’s Boto3 library to the list of existing AWS S3 buckets, and to create a new AWS S3 bucket. Later we looked into JSON template to allow read-only access to any anonymous user through AWS S3 bucket policies, then enabling Static website hosting property of the target AWS S3 bucket. Finally uploading the required HTML documents to the bucket and browsing the static website through a web browser.