In this article, we will use Swagger UI to learn everything that we can do with the new MOVEit 2018 RESTful API.
A fairly recent trend is the prevalence of APIs. It seems like every online service has a comprehensive API. There's no need to log into a webpage and click around in a GUI to perform tasks. With a well-built API, we can write a few lines of code to authenticate and interact with that service to manage an automate list of tasks.
But just because APIs are prevalent, that doesn't mean they all look, feel and act the same. After all, each company is free to build their APIs how they see fit. Before the introduction of the OpenAPI Specification, organizations were building APIs in lots of different ways. You could never be sure the code written to work with one API would work with another.
That's where Swagger comes in. Swagger is a tool that was built from the OpenAPI Specification to solve this problem. Swagger UI is a product that generates interactive documentation from an API itself. Swagger UI dynamically reads the API and creates an interactive, great-looking and easy-to-understand web service that allows a user to explore the API. It's like interactive documentation that always stays up to date!
To demonstrate what Swagger can do, I'm going to use MOVEit Automation 2018's new RESTful API. With the release of MOVEit 2018, MOVEit now has a RESTful API and integrates with Swagger UI.

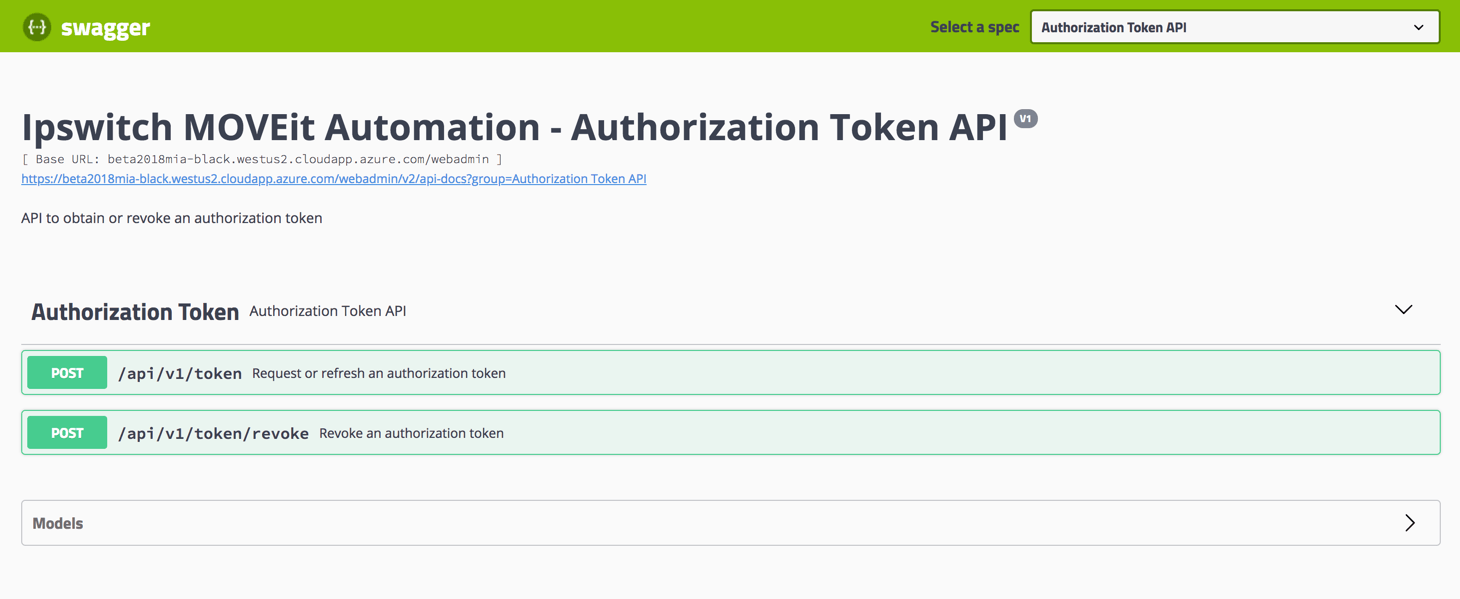
Every API is different, so you may see different options if choosing to learn about Swagger via a different API but using the MOVEit API will be a great way to poke around. To use Swagger with MOVEit Automation 2018, go to the your MOVEit server's webadmin URL and append webadmin/swagger-ui.html. This will take you to a screen that looks like below.
With any REST API that's not public, we'll typically need to authenticate in some way. When we authenticate we receive a token. We then use that token across all of the subsequent calls we make to the various APIs that service exposes. Let's first get an authorization token we can use. To do that, we can use the Try it Out button. A cool feature of Swagger is the ability to use the API without writing a single line of code. This is the Try it Out button. This allows a user to simply fill in parameters the API needs and send calls to the API.
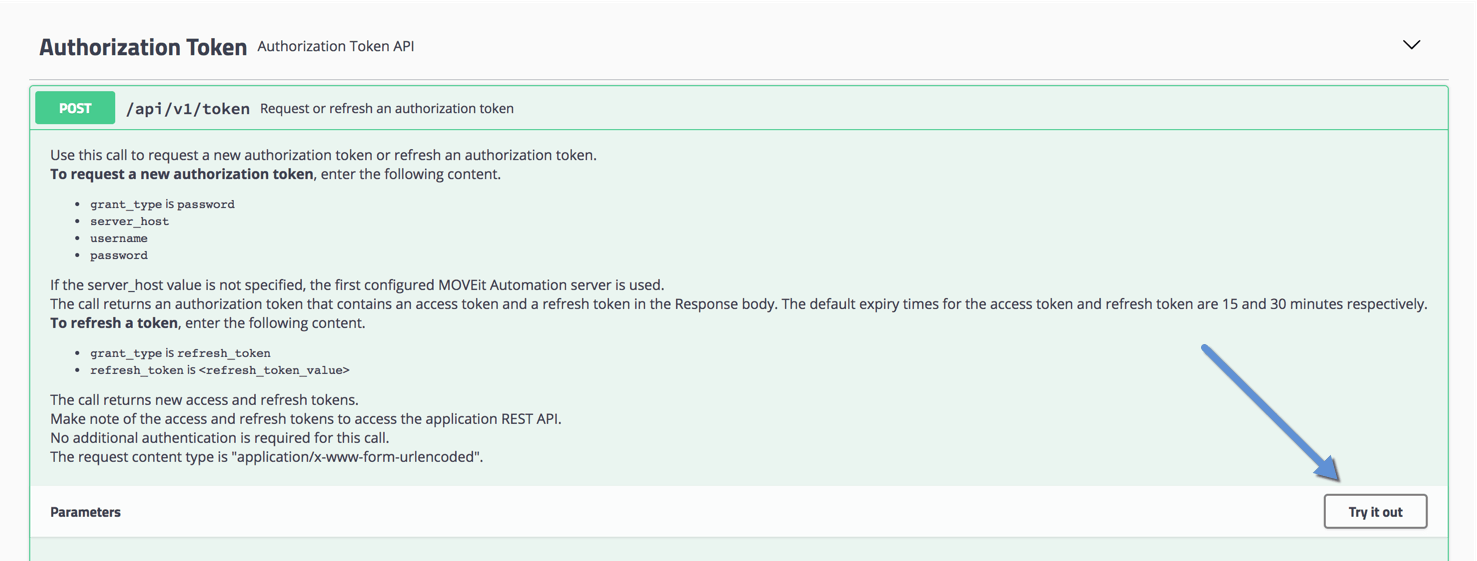
To begin playing around with Automation's API with Swagger, I'll click Try it Out. I'm then presented with boxes where I can fill in the necessary parameters the API needs.
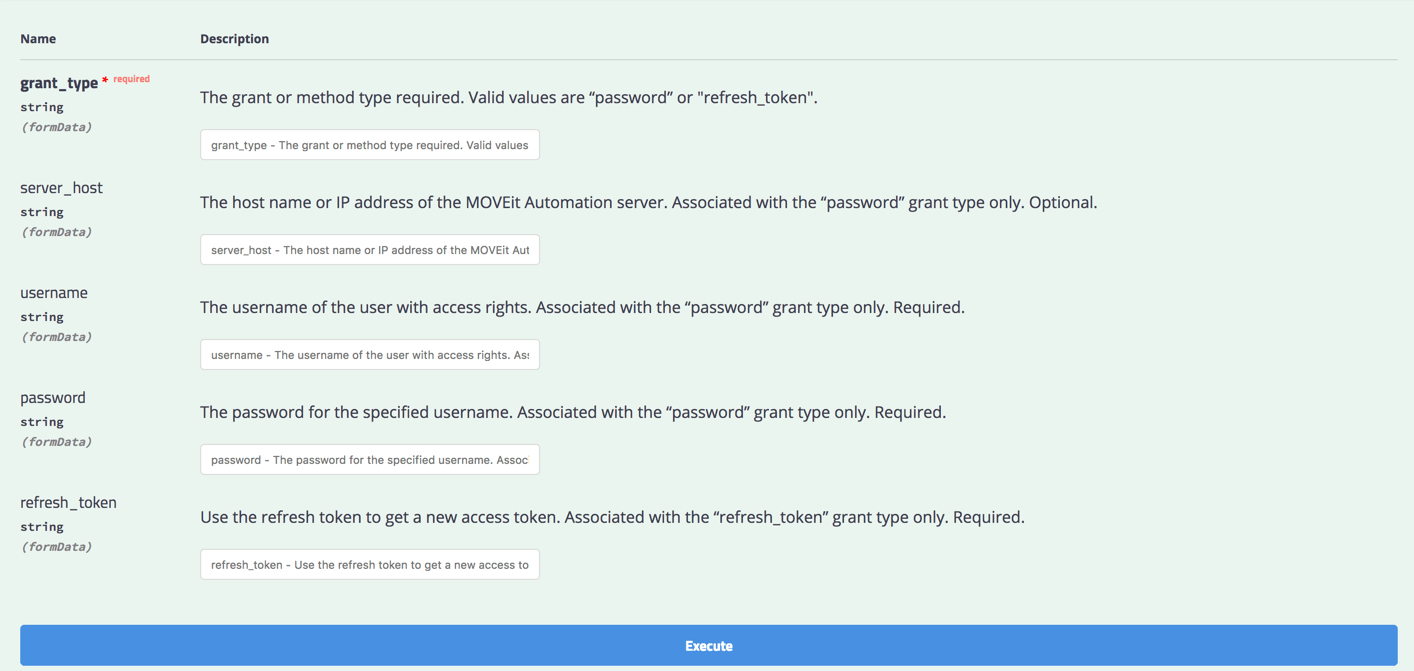
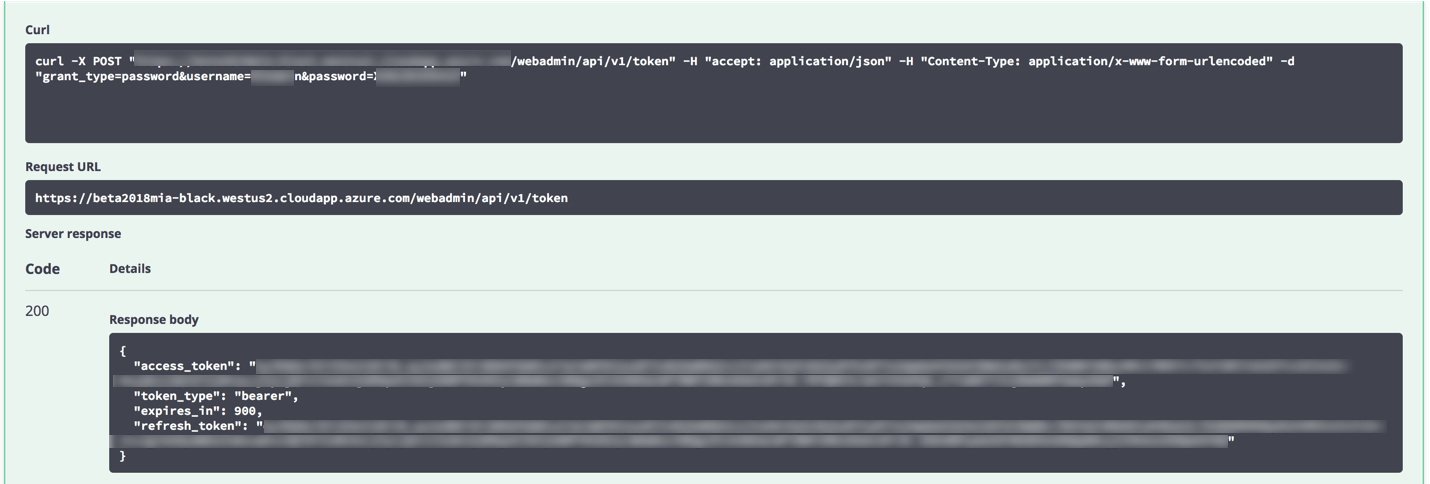
For this demo, I need to use password for the grant_type and provide my MOVEit username and password in the boxes. Once I've done that, I'll click on Execute. Once I do that, I should get some results below which should have an access token. This is the token we need to provide to the other APIs to authenticate. Copy that excluding the double quotes onto your clipboard.
We can now go up to the top of the page and begin exploring the APIs.

Once I click on that and choose MOVEit Automation REST API, you can see that this exposes other APIs.
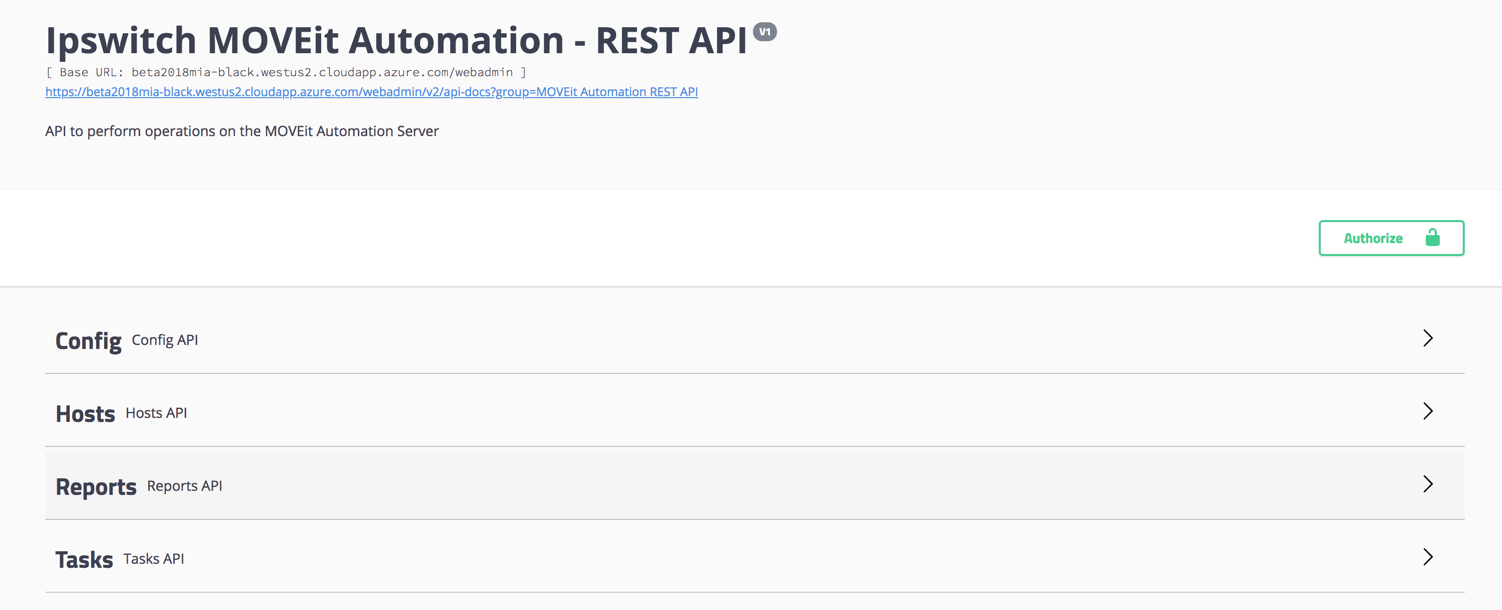
But first, I need to authorize myself with this API. Using Swagger's built-in authorization method, I simply need to provide my access token once. I do this by clicking on the Authorize button. Once I do that, I need to provide that token but I have to preface the token with the word Bearer and a space so the token would look like Bearer <AccessToken>. Once that's done, you've then temporarily saved the token in Swagger UI and you're off to the races!
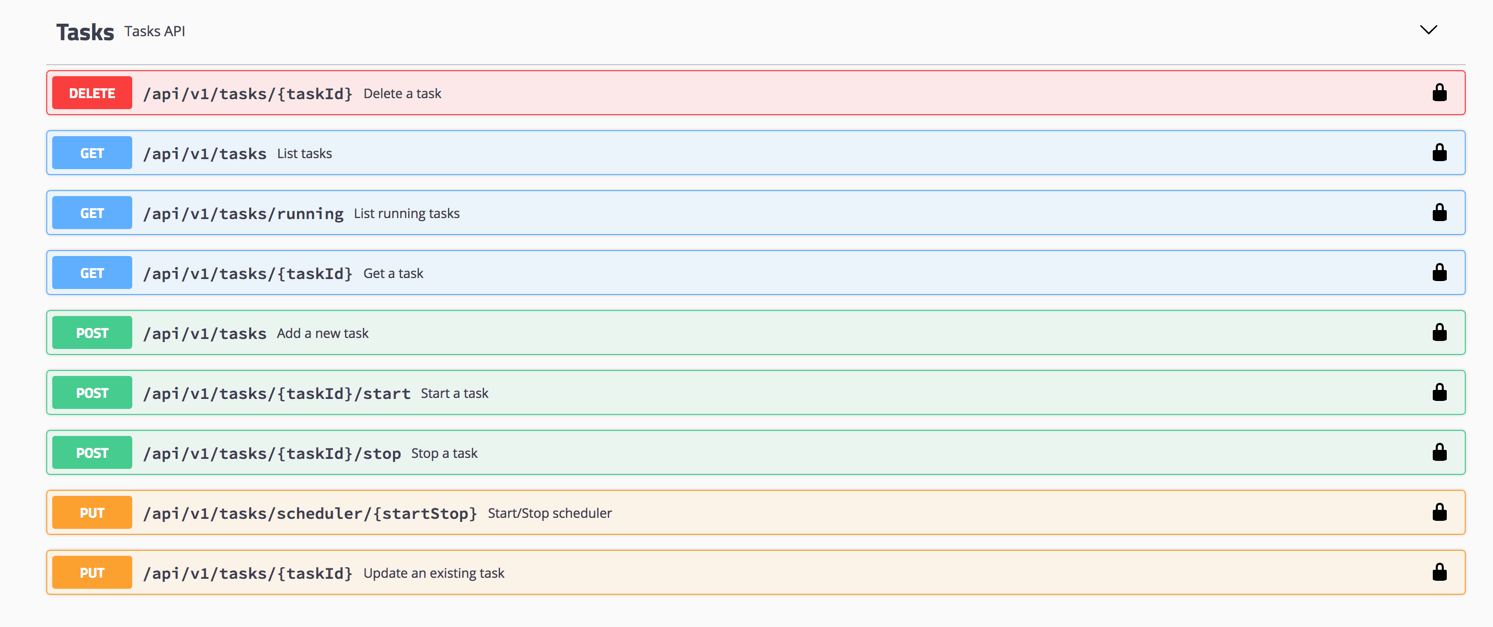
Browse through each of the different APIs here. The beauty of Swagger is that these will always be up to date. When a developer changes an API for any reason, the web page will change as well. To demonstrate, I'll just grab a list of MOVEit tasks via the Tasks API. When I click the Tasks API dropdown, you can immediately see all of the actions we can perform on tasks via this API.
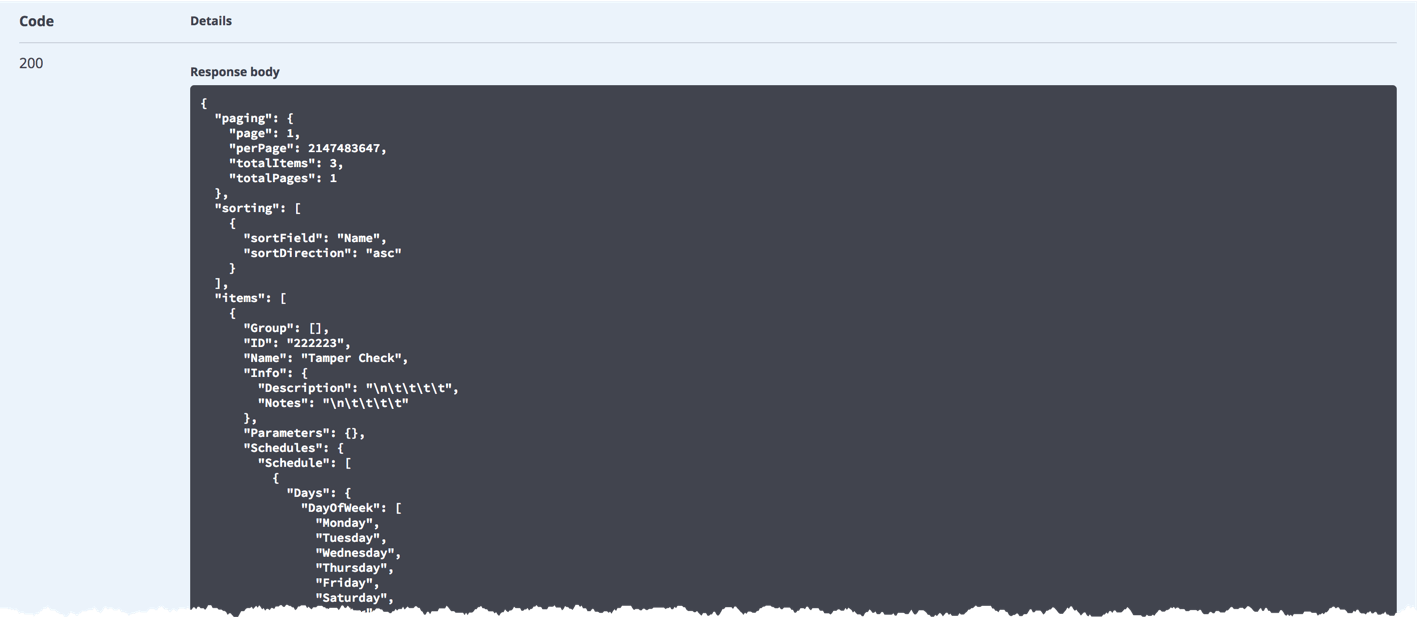
The exact same concept applies to use the API just like we did with the Authorization Token API. We can simply click an API, find a method we'd like to use, click Try it Out and provide necessary (if any) parameters. For the HTTP GET method on the Tasks API, I don't need to provide any parameters at all. I can click Execute and am immediately shown all of the MOVEit tasks I have created.
Swagger UI is a great tool to explore a new API. Since a REST API is new in MOVEit products as of 2018, there's no better method to get in and see just what's possible with the new REST APIs!
Want to know more? Check out the video below for a demonstration of MOVEit's REST API in action with PowerShell.